ADHEAR
Audio Processor & Adhesive Adapter
Positioning ADHEAR
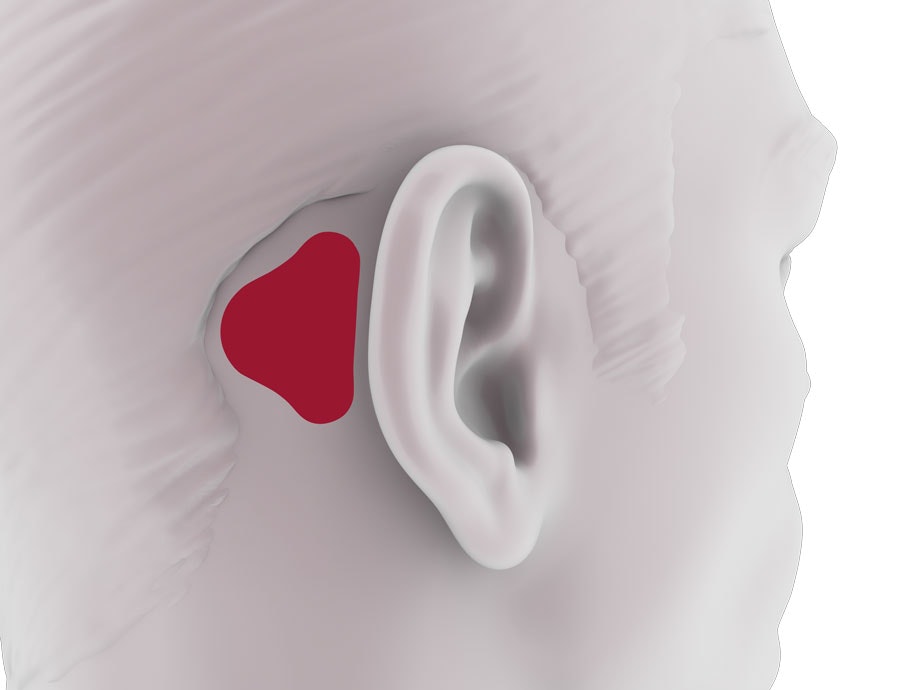
The skin behind the ear must be clean, dry and free from any hair. If the hairless area is not big enough for the adhesive adapter, adjust the hairline with a razor.
Clean the skin with mild soap and let it dry completely before you apply the adhesive adapter.
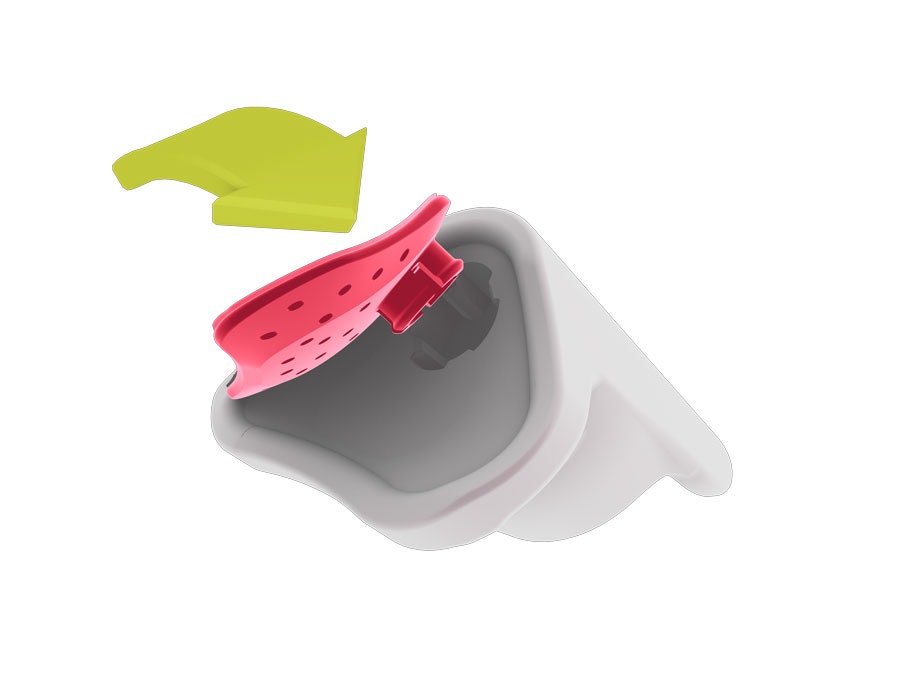
The optional positioning tool can help you to correctly position the adhesive adapter.
Place the adhesive adapter in the positioning tool cavity.
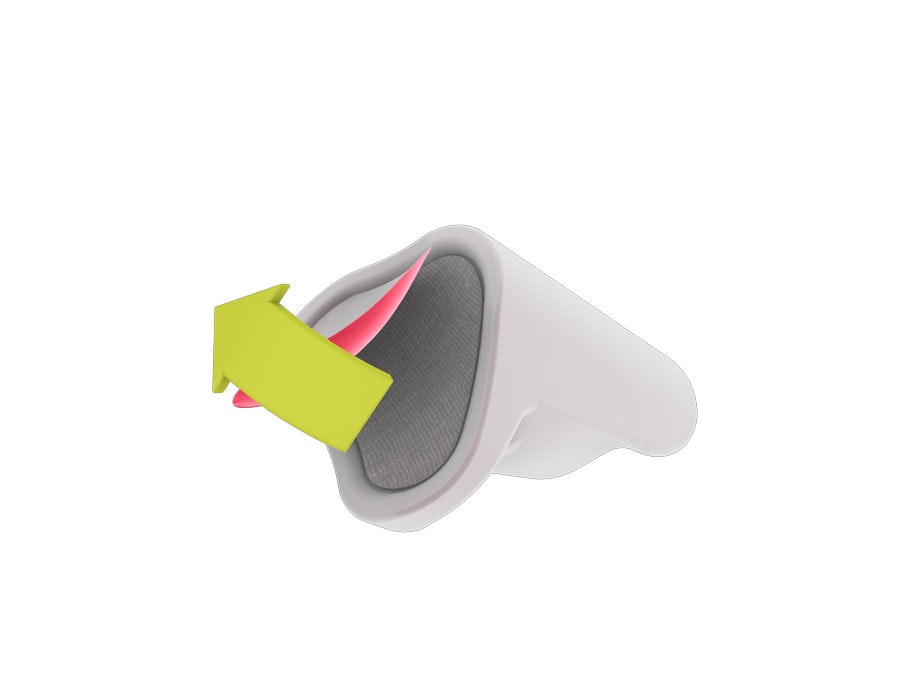
Remove the protective film. Do not touch the adhesive surface.
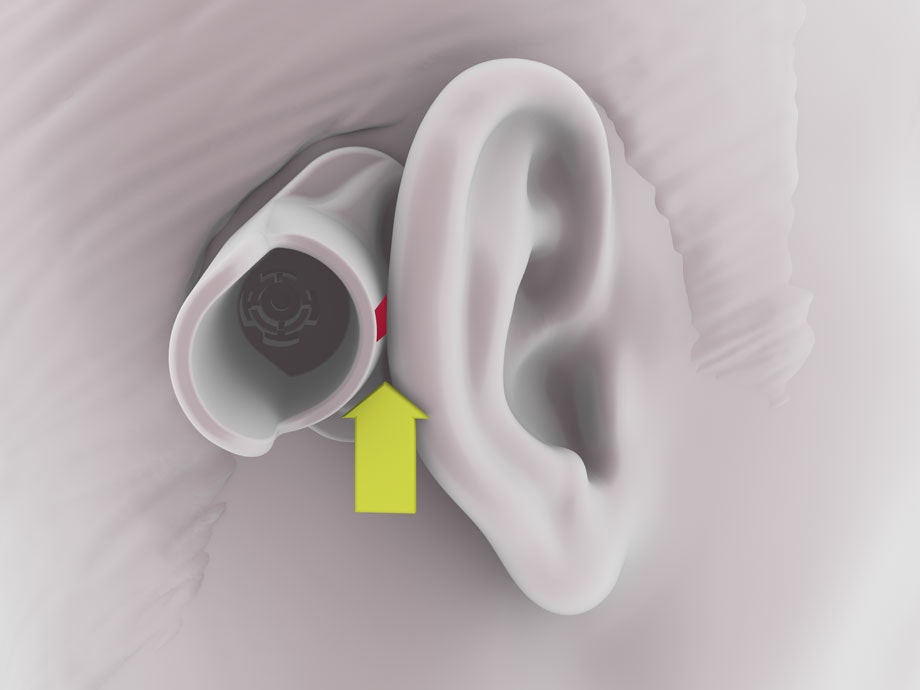
Make sure that the application area is free from hair and move any hair away from the area.
Find the correct position where the tool is lightly touching the ear. Make sure the adhesive adapter is placed over bone.
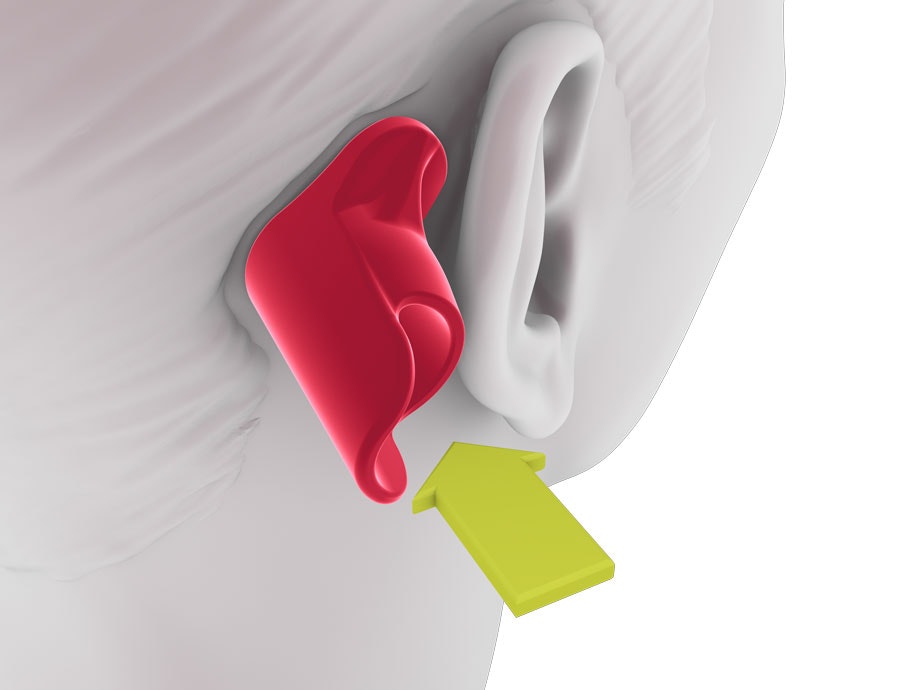
Press the tool firmly against the skin.
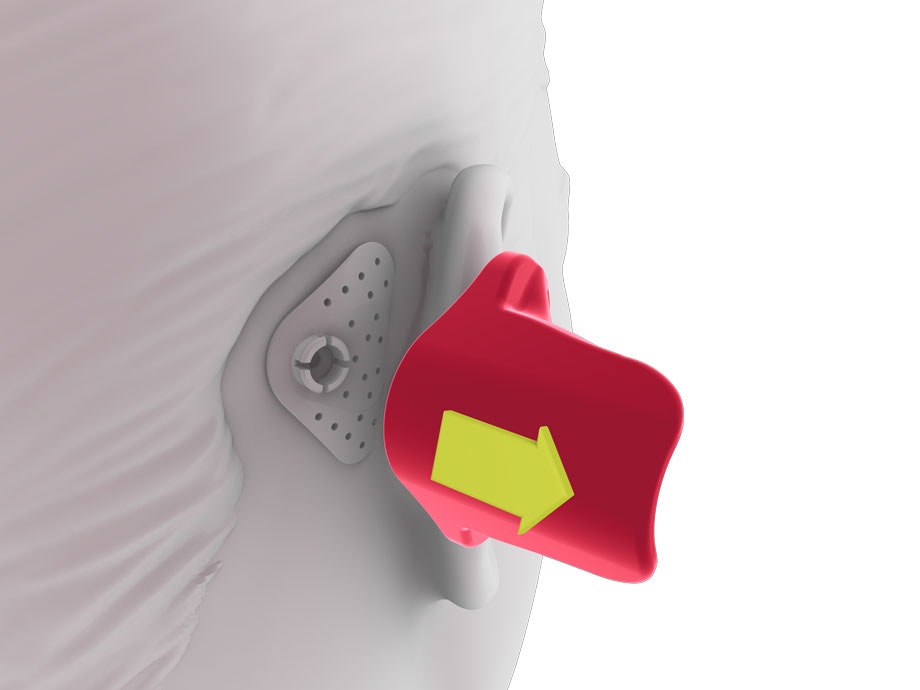
Gently remove the positioning tool by moving it away from the skin. Take care that you do not pull against the adhesive adapter when removing the tool.

Press firmly on the entire surface of the adhesive adapter for at least 30 seconds.
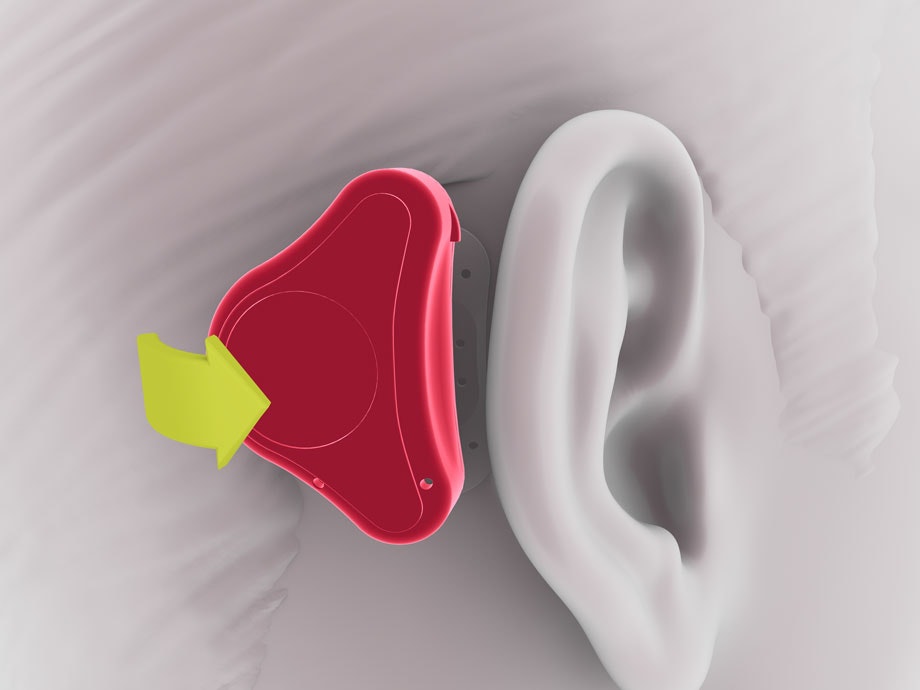
Find the correct position and tilt the audio processor onto the snap connector from behind the ear, while pressing on the adhesive adapter.

By pressing and rotating the audio processor, the position may be slightly adjusted. For optimal performance make sure the audio processor does not touch the outer ear.
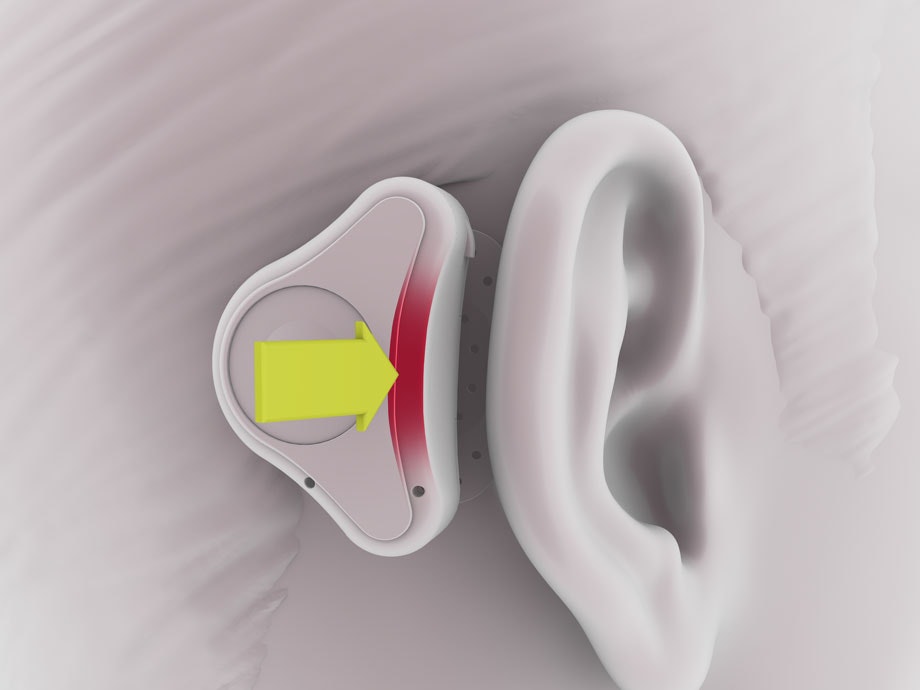
To disconnect the audio processor from the adhesive adapter, tilt it towards your ear.
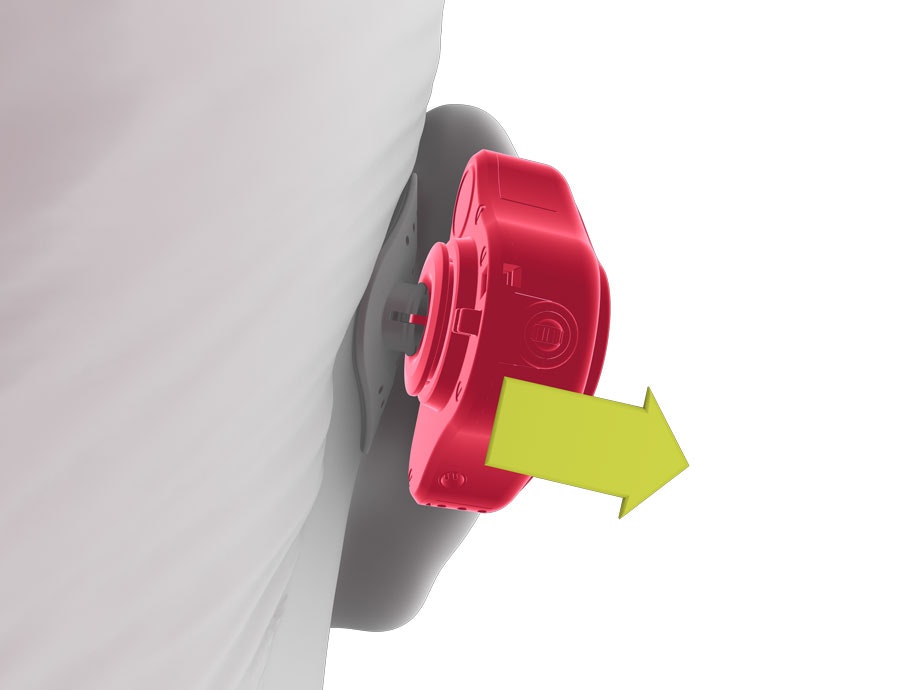
Remove the audio processor gently and do not pull on the adhesive adapter.
Refer to your user manual for more information.

