SAMBA 2
Audio Processor
These support guides will help you handle and care for the SAMBA 2 Audio Processor.
Changing the Cover

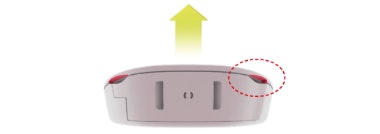
Insert your fingertips into the finger grooves between the cover and the audio processor. Carefully lift and remove the cover.

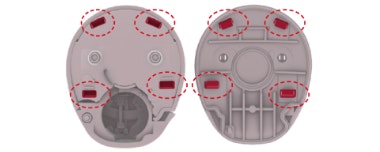
Take a look at your new cover and the snap-on connection (marked). The cover should be affixed in two steps.


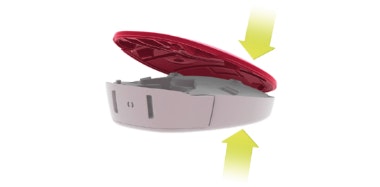
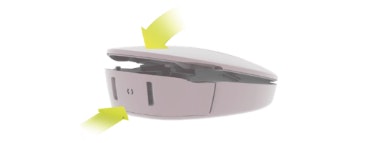
It is important to snap the cover in place in two steps as shown. First press together on the side far away from the battery compartment, and then on the battery compartment side.
Refer to your user manual for more information.

