OPUS 2
Audio Processor
These support guides will help you handle and care for your OPUS 2 Audio Processor.
Changing the Cable
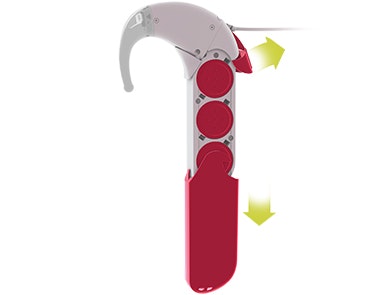
Remove the battery pack cover from the battery pack frame.
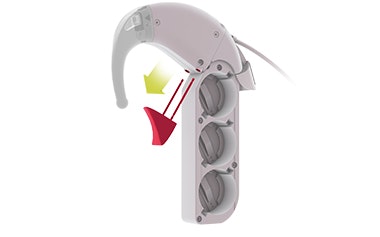
Remove the connecting piece.
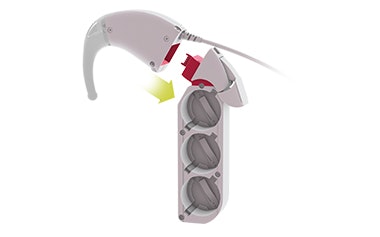
Remove the battery pack frame from the control unit.

Remove the coil cable from the control unit by grasping the plug and gently pulling it out of the socket.

Remove the coil cable from the D Coil.

Connect the new coil cable to the D Coil.

Plug the coil cable into the control unit by inserting it into the control unit socket, with the arrow facing upwards.
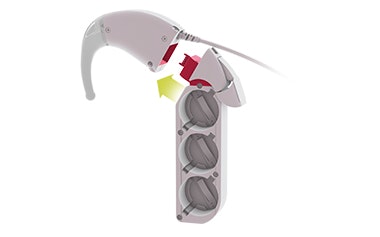
Attach the battery pack frame to the control unit.
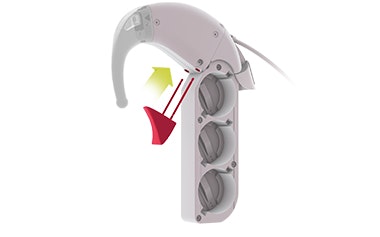
Secure the battery pack frame by inserting the pins of the connecting piece into the two holes at the base of the control unit.
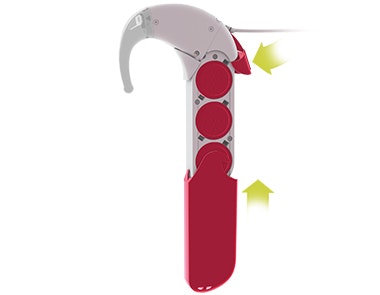
Switch on OPUS 2 by sliding the battery pack cover onto the battery pack frame and closing the battery pack lock.
Refer to your user manual for more information.

