RONDO 3
CI Audio Processor
These support guides will help you handle and care for the RONDO 3 Audio Processor.
Switching On RONDO 3

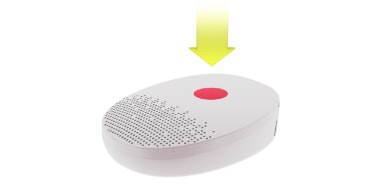
Press the on/off button in the center of the audio processor for approximately 2 seconds.

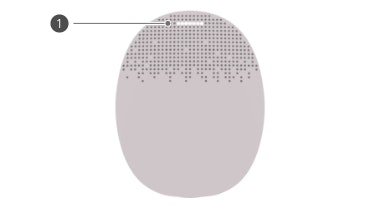
The main indicator light will fade in white 1. The audio processor is now turned on.

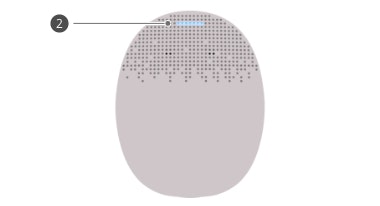
The main indicator light will blink blue 2 to show which program is activated. 1 blink indicates program 1 is selected, 2 blinks indicate program 2, and so on.

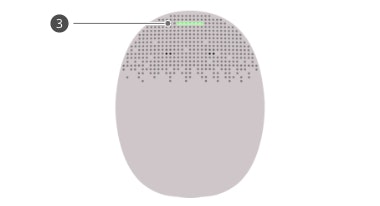
If the link monitoring function is activated, the indicator light will blink red. The indicator light will blink green 3 when RONDO 3 is correctly positioned on your head.
RONDO 3 should be placed over your implant, with the MED‑EL logo against your head and the microphones facing upwards.
Refer to your user manual for more information.

